

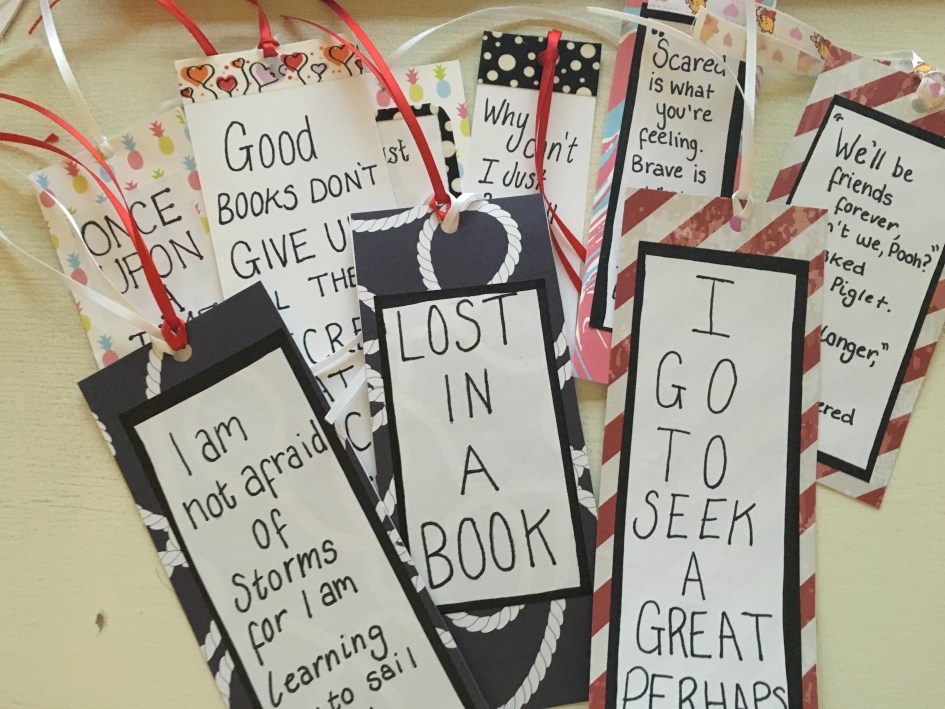
Hey all, today I spent a couple of hours making my own bookmarks and I thought they would be the perfect DIY. I think they would make perfect presents to give alongside a book, or just to use yourself. They are really easy and quick to make. So here we go, DIY Bookmarks.
Things you will need:
- Coloured paper/card
- Plain paper/card
- Ribbon
- Washi tape
- Glue
- Pen
Step 1 –
The first step is to cut out your desired size of bookmark from your coloured paper. Once you have done this punch a hole in the top of the paper.

Step 2 –
The next step is to cut out a rectangle just a little smaller than the bookmark. This is where you will write your quote. Once you have your desired size of paper, choose the perfect quote and write it on. I chose a quote from my favourite book Room.

Step 3 –
The next step is to stick the quote onto your bookmark.

Step 4 –
This is the final step. Cut a strip of ribbon, put it through the hole you punched earlier and tie a note. Pull it tight and there you have it your own DIY Bookmark. As simple as that.

Alternatives –
Instead of using coloured paper/card, you can used plain and make it your own. I did this by adding washi tape to the top and bottom of the bookmark. Then wrote my quote on the paper/card.

Hope you enjoyed this DIY. If you did don’t forget to like and comment below, and if you make your own bookmarks send me a picture of the on my twitter @loisreadsbooks.
Find me on Twitter @loisreadsbooks, on Facebook here, and on Goodreads here.

They all look great.
LikeLike
Thank you 🙂
LikeLike
These are lovely
I just followed your glog
LikeLiked by 1 person
Thank you!
LikeLike
Blog*
♡♡
LikeLike
Thank you!
LikeLike
These are super cute great DIY! Hopefully I’ll get to make some in the future
LikeLike
Thank you!
LikeLike